Since a while ago I started moving all the services that I currently have towards serverless systems, I also started looking for...
Configure SNS to receive notifications
También puedes leer este apunte en castellano pulsando aquí.
SNS (Simple Notification Service), is the product of Amazon Web Services for sending notifications. If you want to know more about this service you can read this post about AWS SNS.
To be able to use this service we have to understand what the topics are and the subscriptions. In SNS we create communication channels (topics), to which the person who wants to receive these notifications (subscribers) is connected. The concept is similar to the mailing lists (which would be our themes) and the people who sign up to receive the emails (which would be the subscribers).
The main advantage of SNS is that we can connect all types of services to a notification channel. For example, we can do that with every notification:
- An email or SMS is sent.
- A GET or POST request is made to a remote server.
- An AWS Lambda is run.
Set up a notification in SNS
Create an SNS theme and make a subscription (in our example, an email account) is very simple by following these steps:
First we will access the AWS console , and from the drop-down menu Services we will choose (or look for) SNS.
If we see the welcome cover of SNS, we will click on “Get started” to access the work screen.
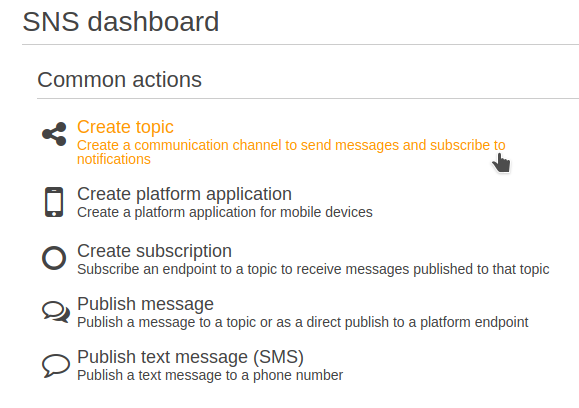
On the main screen, we select “Create topic” to create a new topic.
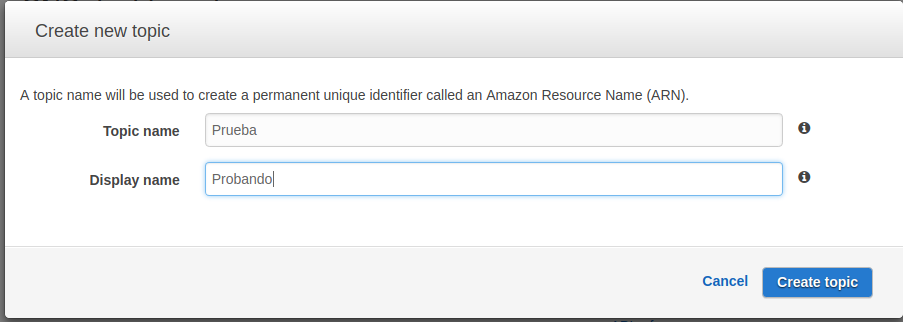
Now, we must indicate the name and a brief description (up to 10 characters) for our theme, and click on the “Create topic” button.
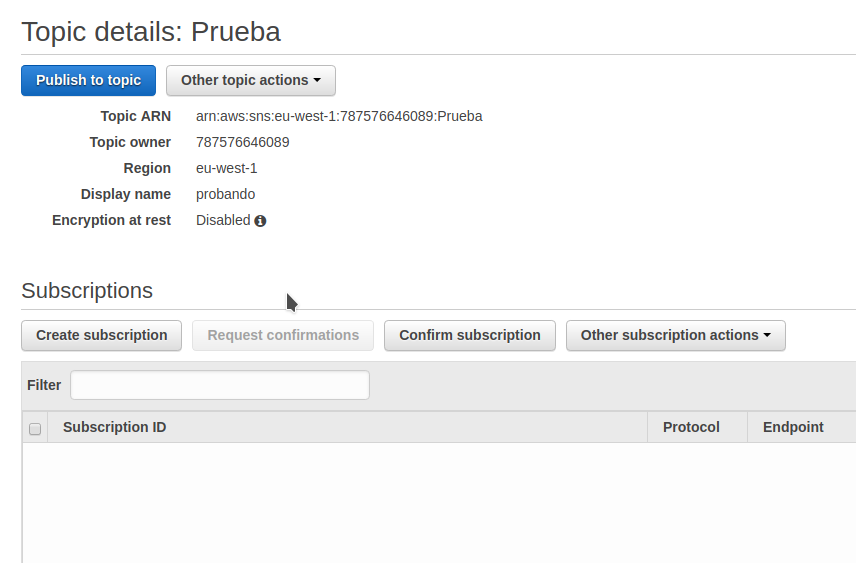
With our theme already created, we have to add subscribers that receive the messages that we send.
For this, once inside our subject, we will click on “Create subscription”, to add a new subscriber.
When clicking, a window will open where we must indicate 3 options:
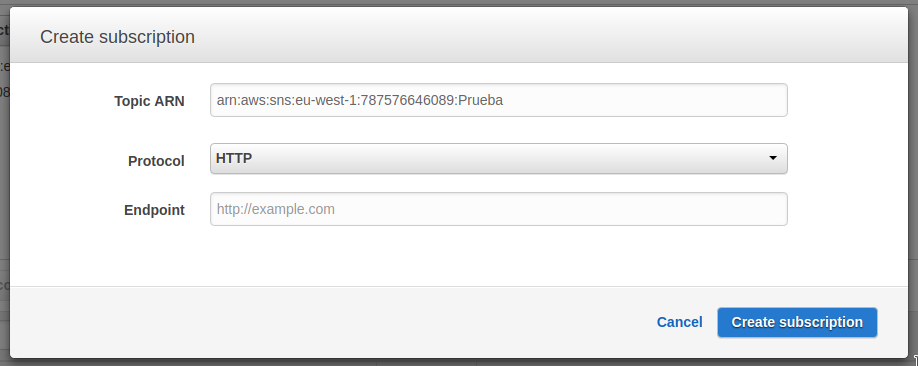
- The AWS ARN for our theme (which is already indicated)
- The way we want to receive notifications (we will choose Email)
- Destiny (in the mail case, the mail account we want to send notifications to
It is important to bear in mind that, if we have chosen the email, we must confirm the email address, by clicking on the link of the confirmation email sent to us. Until we do, we will not receive notifications and we will appear as “PendingConfirmation”.

Our email account is awaiting confirmation.
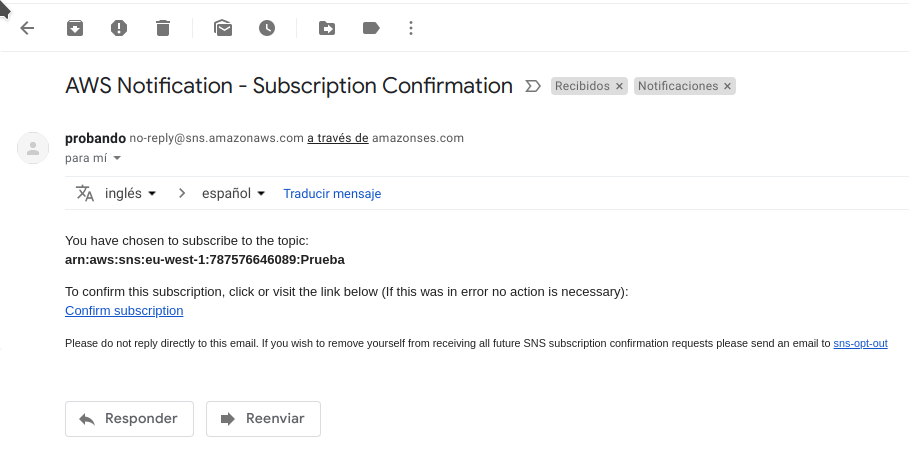
We will receive an email similar to this, with a link to confirm the subscription.
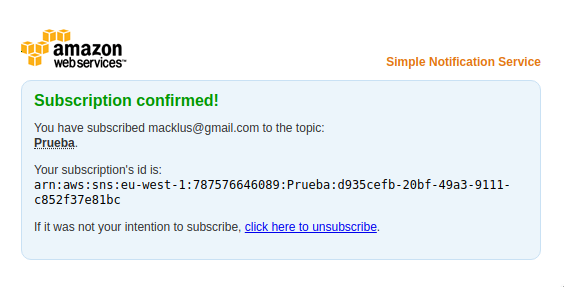
When clicking on the confirmation link, it will take us to a page similar to the one above, where it will confirm that the process has gone well.

By refreshing page, we’ll see our confirmed account, and we can receive notifications.
Send notifications to a topic
Once we have already set up our theme to be able to send notifications, we can see how it works by sending a trial.
To do this, in the configuration window of our theme, click on the “Publish to topic” button.
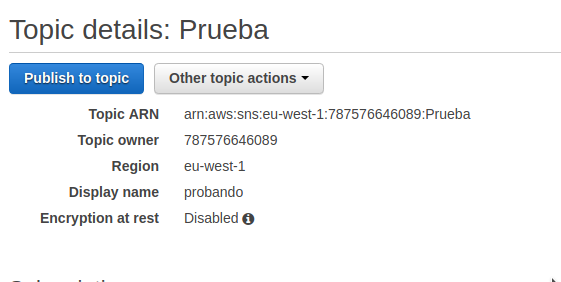
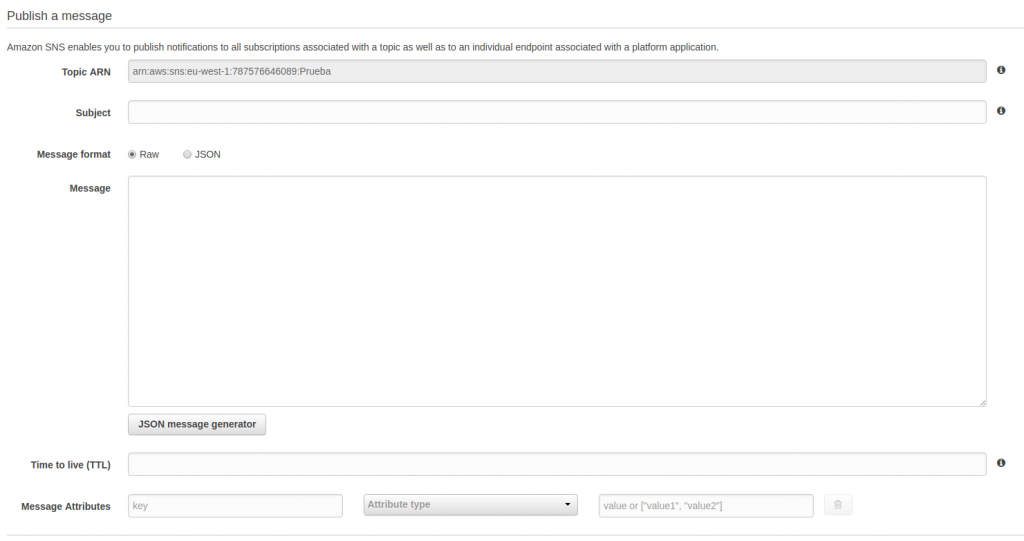
By clicking, you will be asked to indicate the subject of the notification, the content (we can indicate that it is raw and write any message), and clicking on “Publish message” will be sent to all subscribers.
In addition, we can use the AWS API for SNS to schedule the Shipments to SNS from our program, instances, lambdas, etc.